Planning a Timber Balustrade: What to Decide Before Requesting a Quote
Quick answer
Before requesting a timber balustrade quote, record the clear distance between posts, finished height, changes in direction and any stair flight. Confirm structural and regulatory requirements with the builder or building surveyor responsible for the project.
A balustrade is seen as a continuous line, but it is ordered and installed as a set of runs, corners, posts and sometimes stair sections. A single overall verandah length does not explain where one panel ends and the next begins. Mapping the layout first makes design and quoting more accurate.
Break the job into spans
Draw a simple plan view of the verandah, deck or balcony. Mark every post and measure the clear distance between the fixing faces. Number each span so photographs and measurements can be matched. Measure top and bottom if old posts lean or the opening is irregular.
Keep stair balustrade separate from level balustrade. The flight angle, newels and handrail transitions make it a different part of the job.
Choose a visual rhythm
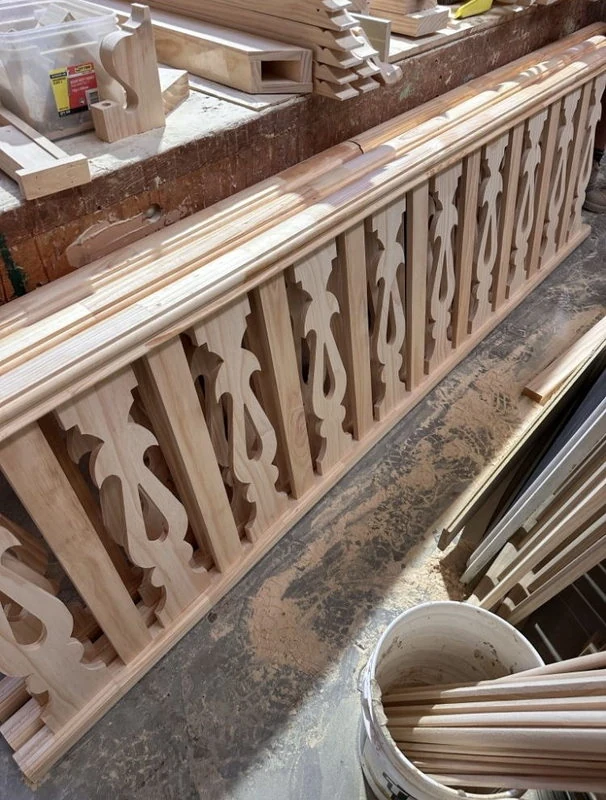
Balusters may be simple, turned or combined with decorative motifs. The spacing and repeat should look consistent across neighbouring panels, even when the panel widths differ. Corners and short return panels need particular attention so they do not finish with an awkward partial repeat.
The timber balustrade designs and ordering guide is a useful starting point for comparing the visual options. Final heights, loads, openings and compliance requirements must be confirmed for the specific project by the responsible building professional.
Decide between components and assembled panels
Most workshop-made balustrade is easier to discuss as assembled panels: base rail below, handrail above and balusters fixed between them. Curved work requires additional set-out and should be identified from the beginning. Ask what will arrive assembled and what work remains for the installer.
Coordinate posts and handrails
Record existing post sections and the points where rails will meet them. If new verandah posts, newels or droppers are part of the same project, include them in the same drawing. This avoids selecting each element independently and discovering later that their scales or fixing points conflict.
Can existing balusters and handrails be matched?
Yes. A surviving turned baluster, handrail offcut or clean cross-section gives the workshop the best pattern. If no sample can be removed, send square-on photographs with a tape measure, the baluster centres, the handrail width and depth, and the finished span between posts. Heritage can compare the part with its balustrade and baluster range and timber handrail profiles, then advise whether an existing cutter or a custom match is appropriate.
What to provide
- A numbered plan of all level and stair runs
- Clear width of every span
- Post dimensions and photographs
- Preferred baluster or motif design
- Internal, external or stair location
- Any curved or angled sections
- Delivery location and access constraints
Prime external panels completely before installation, including rebates and concealed faces that become difficult to reach afterwards. A good layout drawing, even when hand-drawn, gives the workshop and installer a shared picture of the finished run.
Continue planning your project
- How to Measure a Gable for a Decorative Timber Infill
- How to Measure an Opening for a Custom Timber Gate
- Choosing and Measuring a Timber Window Canopy for a Period Home
- How to Measure Outdoor Stairs Before Ordering a Timber Stair Kit
- Timber Louvres, Shutters and Screen Doors: Which Do You Need?
- How to Prepare and Paint LOSP H3 Treated Pine Before Installation